Lab Setup
The machines needed for this project are:
- A Windows 11 Client PC (with Sysmon installed)
- A Ubuntu 22.04 server for Wazuh
- A Ubuntu 22.04 server for TheHive
Wazuh is an open source platform that integrates SIEM and XDR capabilities. It provides solutions like Security Analytics, Intrusion Detection, Incident Response, and many more. It consists of three central components: Wazuh indexer, Wazuh server, and Wazuh dashboard.
TheHive is a 4-in-1 Security Incident Response platform. I’m going to use it as my case management system.
The Windows client machine and the Ubuntu servers can be setup on an ESXi host, or Proxmox, or even on the cloud. Since, this is only for learning purposes, I am going to run the services on my local.
Windows client
I have installed and prepared a Windows 11 Pro VM with 192.168.0.162 static IP. I am downloading Sysmon and the Sysmon Olaf Config file. I’ve extracted the zip file and inside the folder placing the sysmonconfig.xml file. Let’s open PowerShell on the same location and run the following command
PS C:\Users\Administrator\Downloads\Sysmon> .\Sysmon64.exe -i .\sysmonconfig.xmlAgree to EULA on the next prompt. This should successfully install Sysmon on the Windows client.
Ubuntu server
I have prepared a Ubuntu Server 22.04 with 192.168.0.169 static IP. This will be running Wazuh for me. I’ve configured this VM to have 2 CPUs, 8 GB RAM, and 100 GB disk space.
Let’s go ahead and update the packages first.
sudo apt-get update && sudo apt-get upgrade -yInstall Wazuh
To install Wazuh, I’m simply following their quickstart documentation. The installer should automatically install Wazuh central components. At the end of the installation, it shows the admin user username and password. I’m saving it somewhere safe as I will use this to log in to Wazuh.
Wazuh service should be running on the machine after a successful installation. If I go to https://192.168.0.169 which is my Ubuntu server IP, I can see the Wazuh login page.
Let’s log in using the admin credentials.
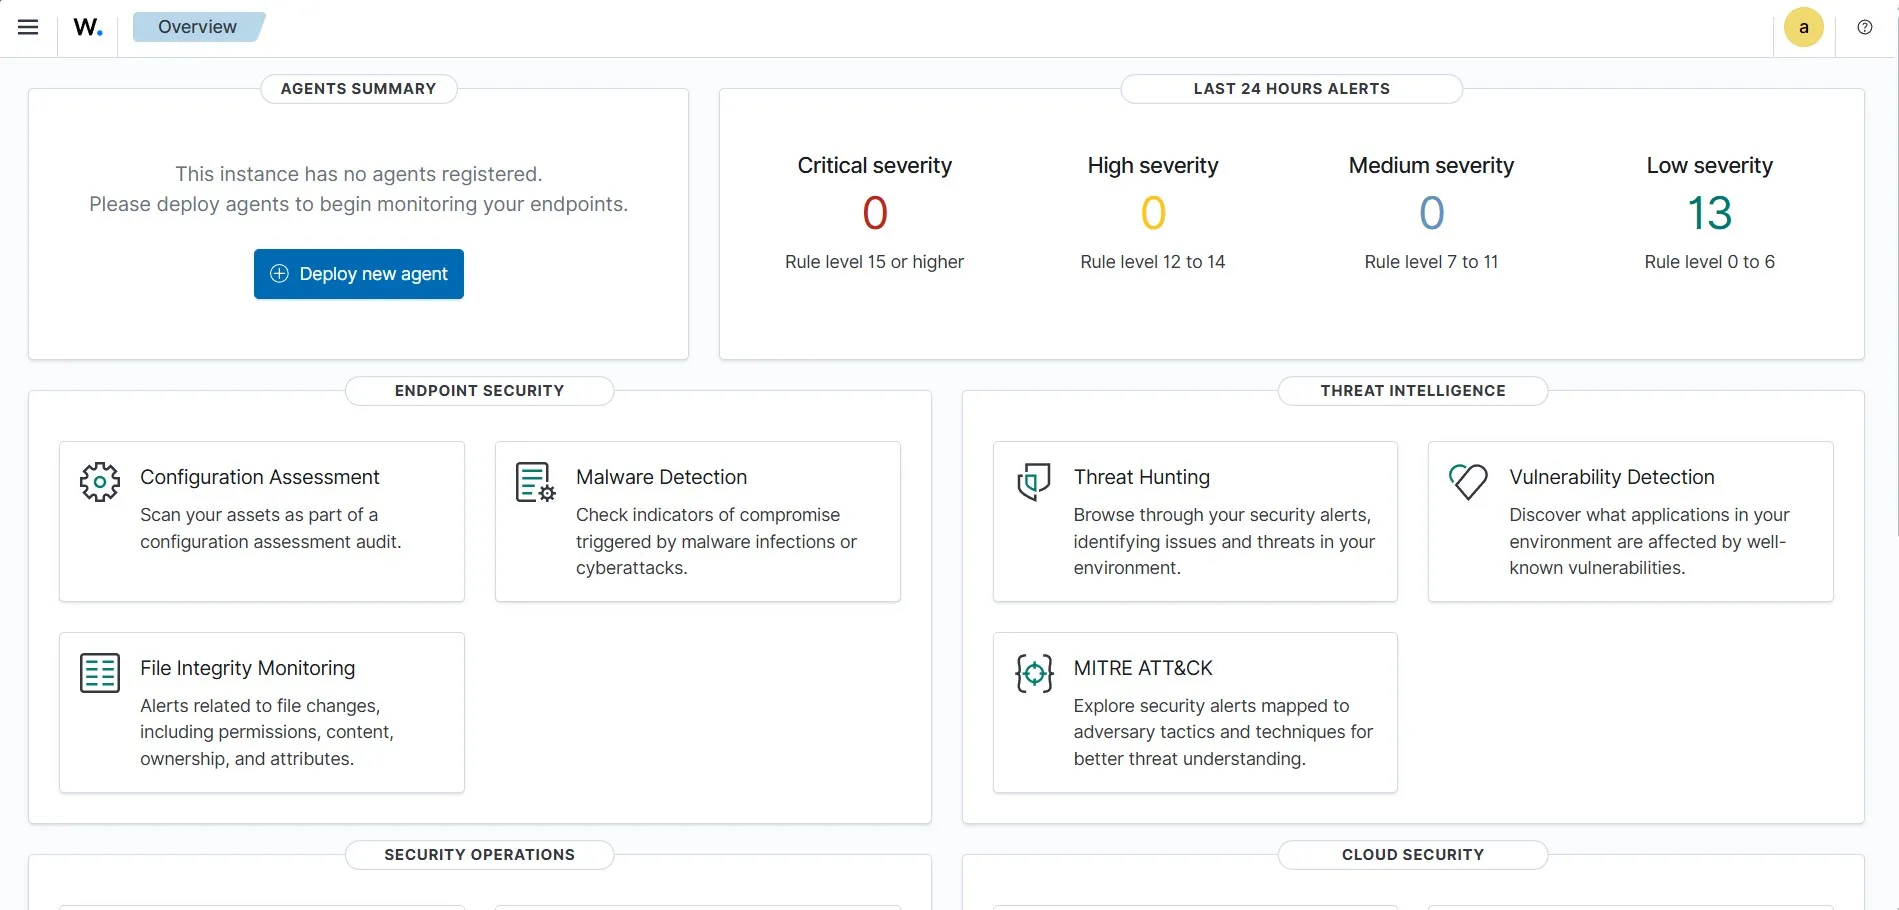
After the login, it lands on the Wazuh Overview page. Currently, It is showing no agents registered as I have not yet added any agents to Wazuh.
Install TheHive
TheHive requires four components to be installed. Java, Cassandra, Elasticsearch, and TheHive. I’ll be installing all these on a standalone Ubuntu 22.04 server. I’ve allocated 2 CPU, 8 GB RAM, and 100 GB disk for the VM. I’ve set the static IP 192.168.0.170 for this server on my local network.
I’ll be using the official guide to install it on my Ubuntu server. Before starting, let’s update the packages.
sudo apt-get update && sudo apt-get upgrade -yI have finished installing the dependencies, Java Virtual Machine, Apache Cassandra, Elasticsearch, and TheHive by following the step by step guide. Once the service is up, I can access it on http://192.168.0.170:9000
The default admin user credentials for login is:
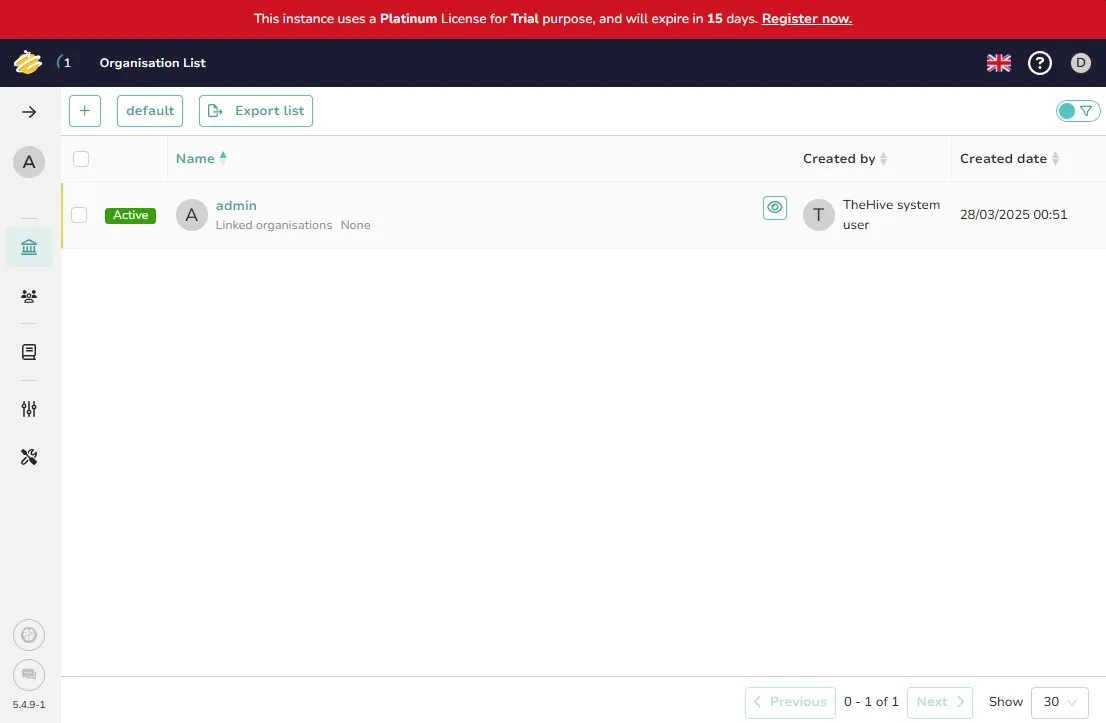
Username: admin@thehive.localPassword: secretI can see the following after logging in.
Now that the VMs, Wazuh, and TheHive is installed, the next task is to configure them properly to make them work as expected.