Mythic Server setup
Objective:
- Setup Mythic C2 Server and learn how Mythic works
Mythic recommends a minimum of 2 CPU and 4 GB RAM for the setup.
To set up our elasticsearch service, we first need to deploy a VM instance with the Google Compute Engine.
Steps to create the Ubuntu VM
- Go to Compute Engine > VM Instances > Create Instance.
- Name the instance (
mythic-server)- Choose Region: Pick any region (I choose ‘asia-east2’ and zone
asia-east2-a).- Machine configuration: Select a machine type with at least 2 vCPUs and at least 4 GB RAM (e.g. e2-standard-2).
- OS and Storage: Choose Ubuntu 22.04 LTS as your operating system and sufficient storage (I choose 80 GB SSD persistent disk)
- Networking: I’m not adding any additional firewall rules from here nor choosing any network. Leaving it to the default network and all the rest of the settings as is.
- Leaving all the other options as it is for now
- Click Create to create our mythic server instance
My Mythic instance config
| Configuration | Value |
|---|---|
| Instance Name | mythic-server |
| Region | asia-east2 |
| Zone | asia-east2-a |
| Machine Type | e2-standard-2 (2 vCPUs, 8 GB RAM) |
| Operating System | Ubuntu 22.04 LTS |
| Storage | 80 GB SSD persistent disk |
| Network | default |
| Subnet | Default settings, no change |
| Internal IP | Ephemeral |
| External IP | Ephemeral |
| Firewall Rules | Default settings, no change for now |
| Network Tags | None |
Once the server instance is running, we can now SSH into the machine.
SSH into the VM
- Generate an SSH key on our local machine with:
ssh-keygen -t rsa -C [username]- Save them in the default location (simply press enter)
- Generate a passphrase
- Go to the Compute Engine > Metadata > SSH Keys section and add the
~/.ssh/id_rsa.pubpublic key- Go to the VM Instances > Choose our machine > Click edit > Under the SSH Keys section > add the public key again in here
- Now we should be able to SSH in to the VM from our local machine by:
ssh -i id_rsa [username]@[machine public ip]
Once we are in the machine we need to do a few things. First we’ll get root access and update our repositories.
sudo -iapt-get update && apt-get upgrade -yInstall mythic prerequisites
apt install docker-composeapt install makegit clone https://github.com/its-a-feature/Mythic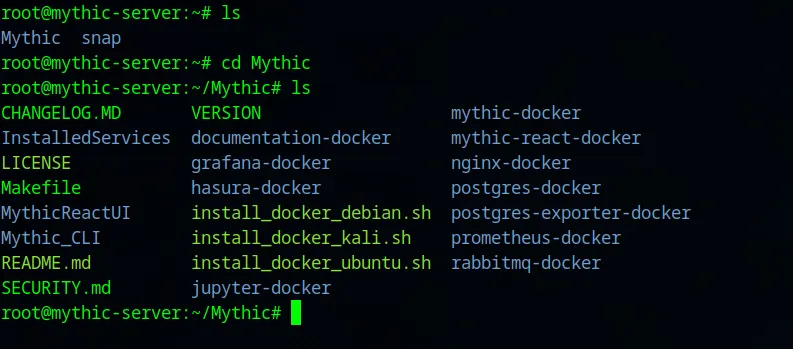
The one we need is install_docker_ubuntu.sh.
./install_docker_ubuntu.shLet’s make sure that our docker service is running. If not running, restart docker service.
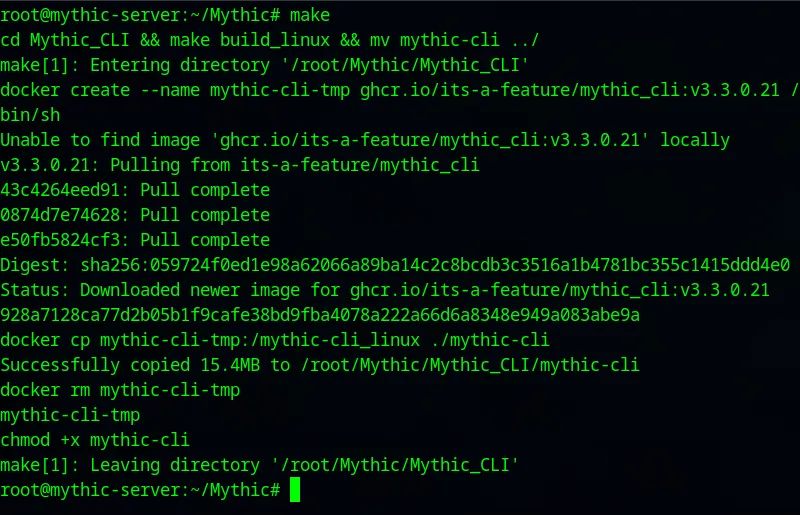
systemctl status dockersystemctl restart dockersystemctl status dockerUnder the /Mythic directory, we need to run make.
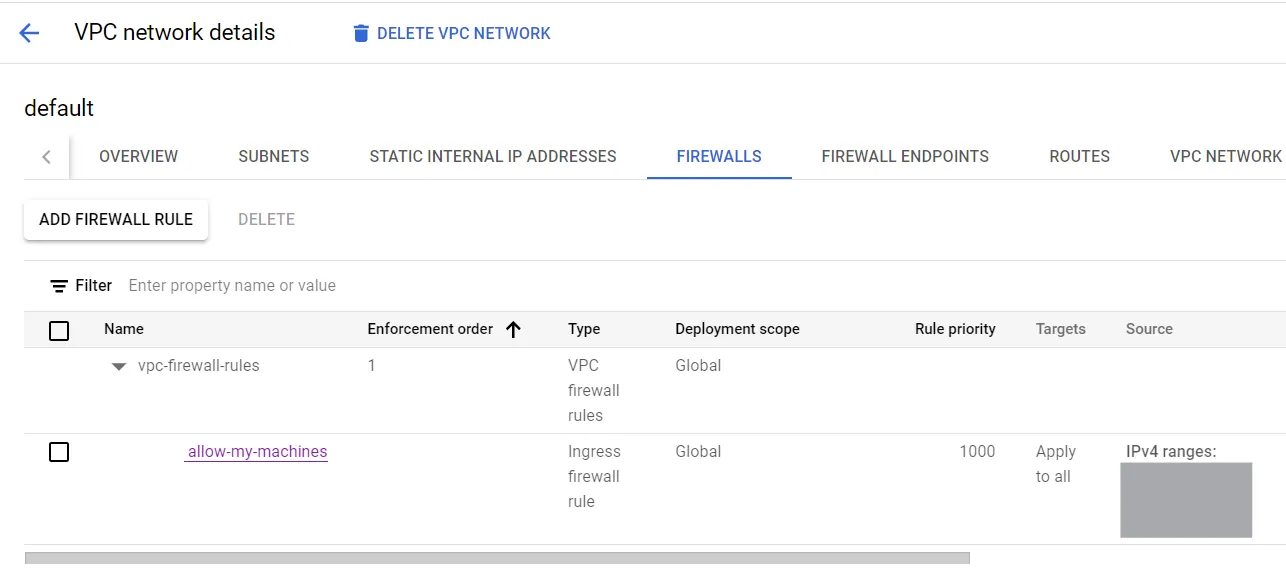
./mythic-cli startAs I don’t want anyone on the internet to try to use my Mythic server, I am going to tighten the default network firewall rules. I am removing the default internal, rdp, ssh, and icmp access and instead creating a new firewall rule to communicate over all ports and protocols with the windows and ubuntu server public IPs and my home network IP(for my own machine to access it).
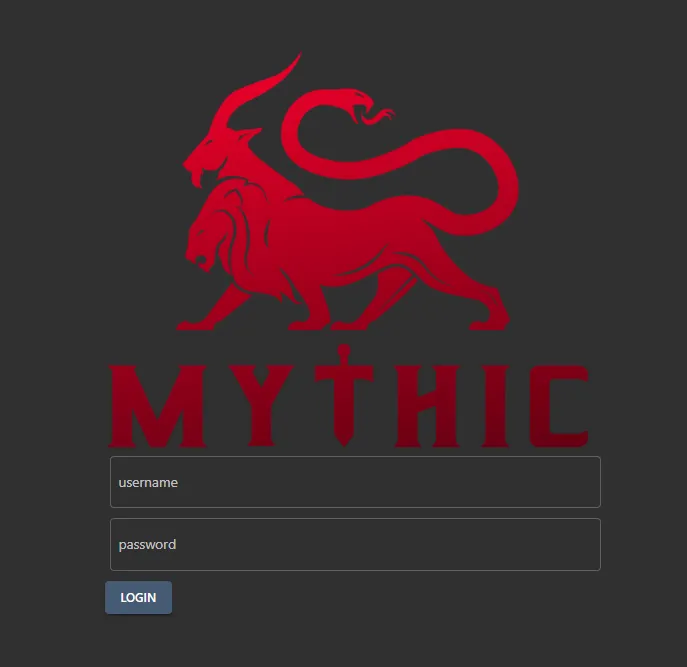
Access mythic
By default, mythic lives on port 7443. I am able to access mythic on https://<mythic-server-public-ip>:7443.
We can find our mythic username and password on a file named .env under the /Mythic directory.
root@mythic-server:~/Mythic# cat .envI find two values containing the username and password.
MYTHIC_ADMIN_PASSWORD="-----"MYTHIC_ADMIN_USER="mythic_admin"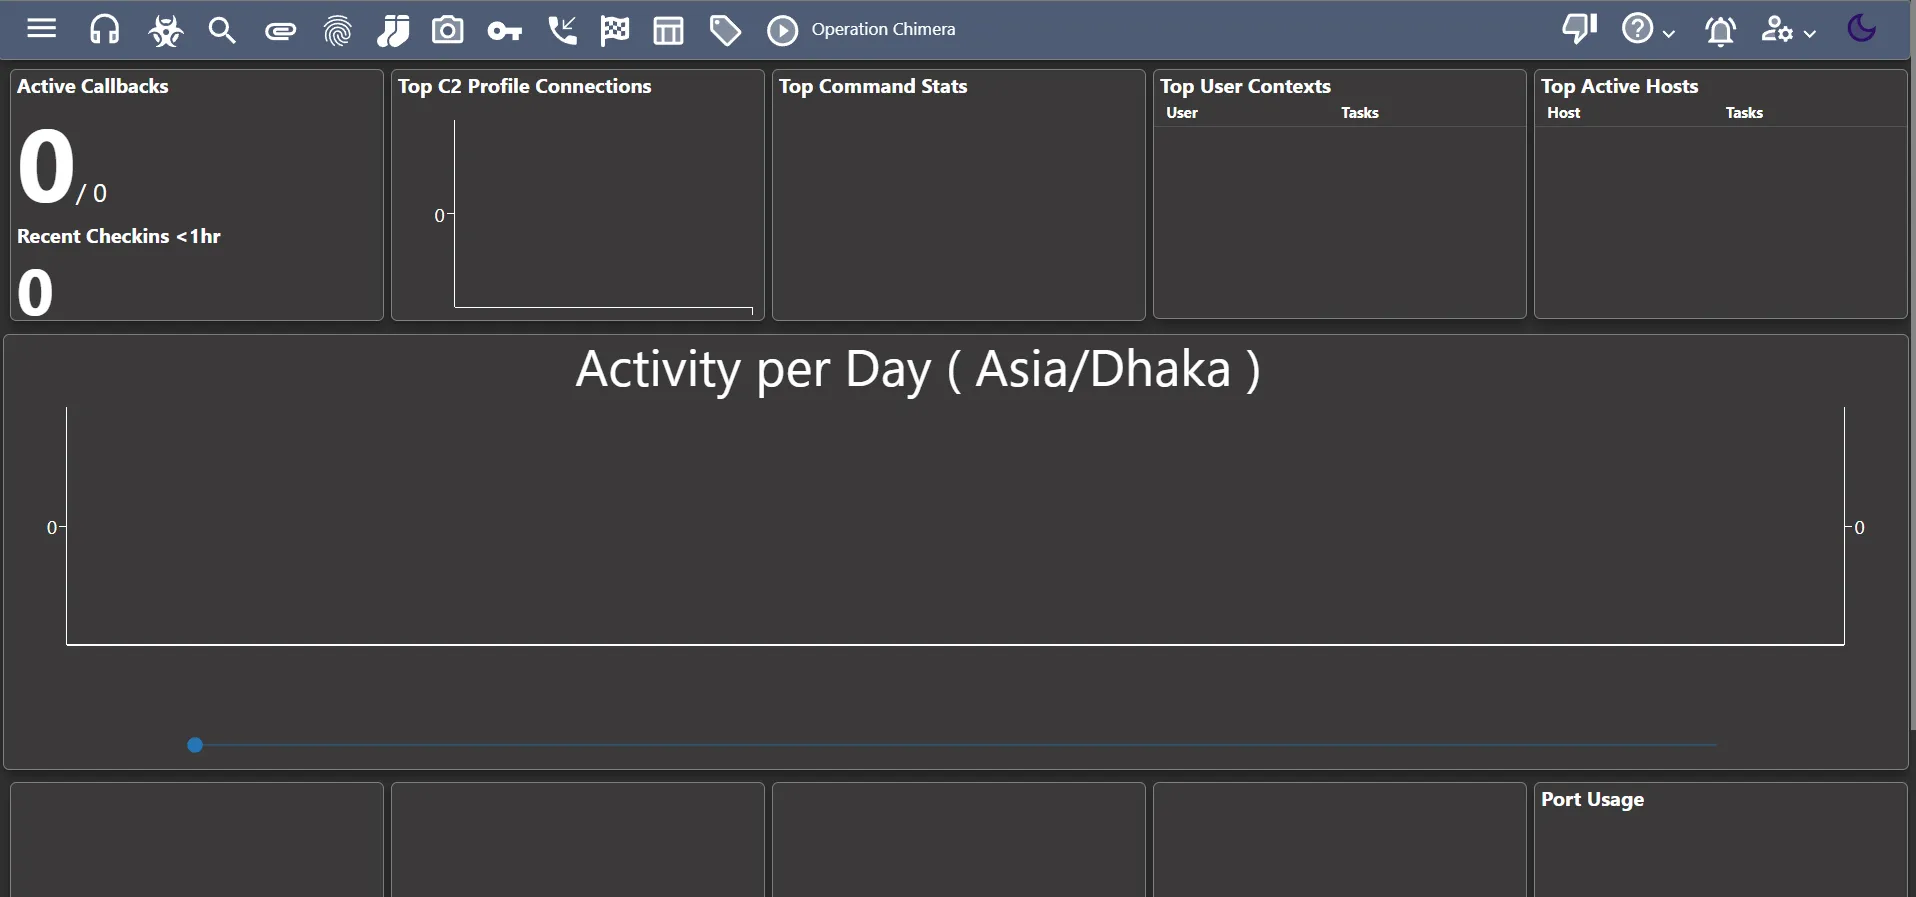
After logging in using the provided credentials, I am presented with my Mythic C2 dashboard.