Secondary DC & File Server
Set up the server
Create and set up another Windows Server named “DC2” on ESXi. Spin it up and install Windows following the same steps as before. After the machine is up, setting up the following:
- Set computer name to “UCCH45DC02”
- Change IPv4 network configuration to 192.168.0.162/24 (static)
- Set preferred DNS to 192.168.0.161 (DC1 server IP address)
Install AD DS
From the server manager dashboard:
- Select Add roles and features
- Installation type: role-based or feature-based installation
- Select the server
- Select role Active Directory Domain Services
- The default features for this role is automatically added
- Check the automatic restart option and then the installation begins
Promote to secondary domain controller
There is a notification flag with option “Promote this server into a domain controller”. Going into that:
- Select deployment operation “Add a domain controller to an existing domain”
- Provide existing domain name “yourdomain.com”
- Provide administrator credentials of the DC1 server when prompted
- Set a secure DSRM password
- Avoid the DNS delegation error as we’re adding it to a top level domain
- Next on the additional options, keep it as replicate from any
- Keep the default options for AD DS database, log files and SYSVOL paths
- If all the prerequisites are met, click install
After the installation is finished, the server restarts automatically.
Verify secondary DC
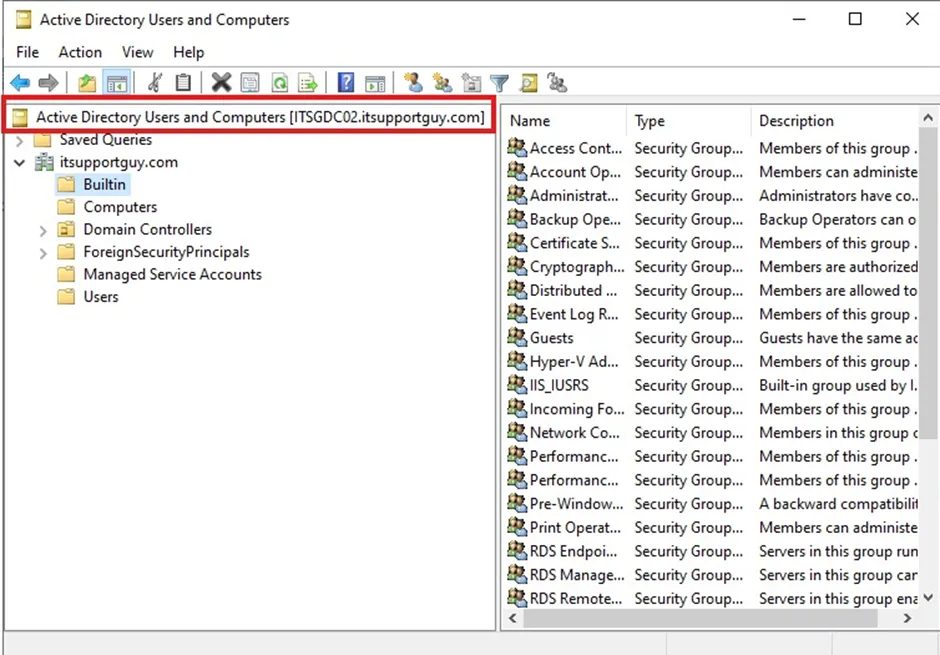
First, check the Active Directory Users and Computers (ADUC) and make sure ADUC is connected to our new DC.
Then, let’s check the AD replication status and make sure there are no replication errors. For this step, I am going to go to my DC1 server and execute command: repadmin /replsummary ucch45dc02

Lastly, it can be useful to do an AD health check by executing command: dcdiag /v
The secondary DC setup is now complete. The benefit will be that it will balance the load of the services and it will also minimize the risk of a complete network outage.
File Server
File Server service is already installed on my DC2 server (installed while installing default features for AD DS role). I am installing File Server Resource Manager role too which allows me extended capabilities to manage the file server.
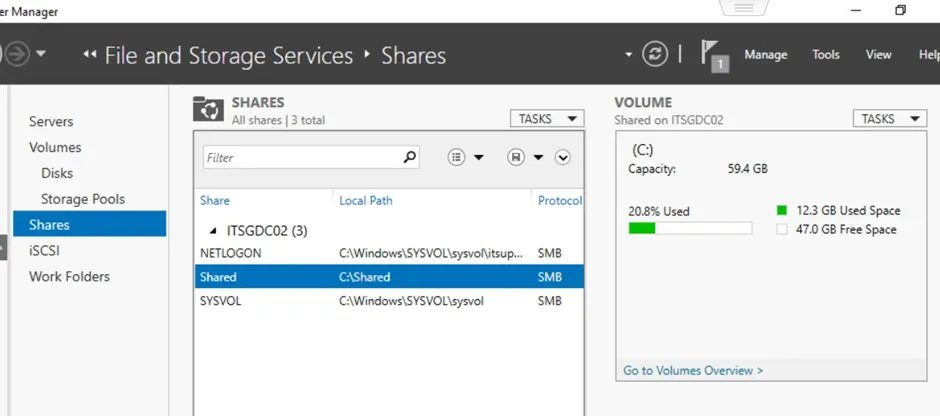
If I go to “File and Storage Services” tab from the server manager, I can see the file shares, iSCSI services(using this virtual disks can be created to provide and provision), and work folders.
Now to set up a file share:
- Create a folder named “Shared”
- Go to it’s properties
- Select Advanced Sharing > Check Share this folder
- The permission is set to read for Everyone on the domain
- Hit apply and ok
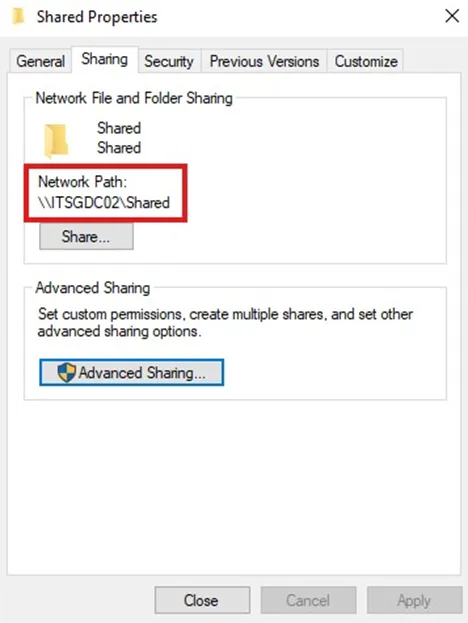
Now I am able to see the network path for the share.
I can also see the share on the server manager.
To set up users/groups for the file server this guide can be followed: https://www.nakivo.com/blog/create-file-share-windows-server/
Verify File Sharing
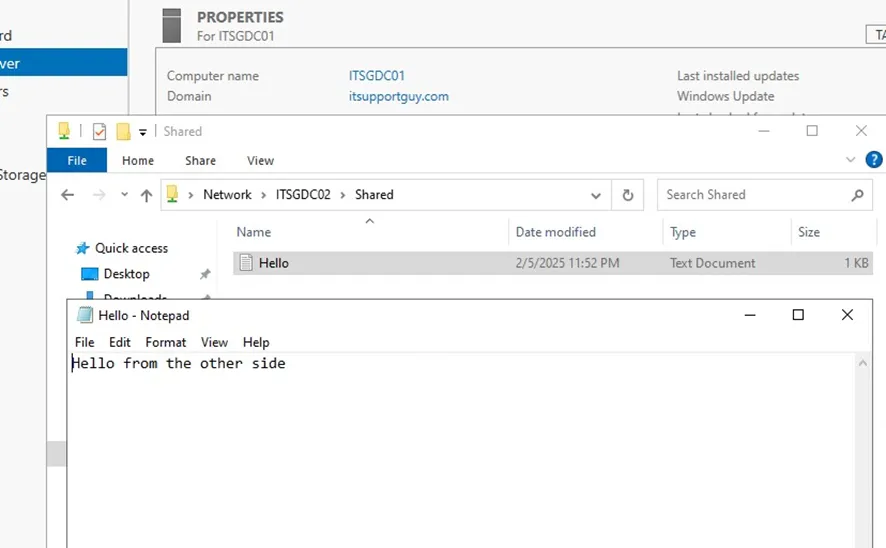
I am going to make a text file “Hello.txt” on the Shared folder and try to access it from the file explorer on my DC1 machine.
If I try to save a new file or modify the existing file from DC1 server, I won’t be able to because the permissions for the shared folder will only allow for read.