Setup ESXi
Before starting
The tasks involved are -
- Create an ESXi server
Inside the ESXi:
- Create a DC server
- Create a file server (also the secondary DC)
- Create a RDS server
- Create an Exchange server
- Create a Veeam backup and replication server
I am choosing to use VMWare Workstation Pro 17 installed on my local machine to install the ESXi server.
Troubleshooting: Was having a problem with installation of ESXi ISO. Kept getting a “Virtualized AMD-V/RVI is disabled” error. Using an AMD processor on the host machine. Mitigated the error following this guide: https://bhanuwriter.com/virtualized-amd-v-rvi-is-disabled/
End result for systeminfo command:

Select an IP: To accommodate the environment, I’ll need to assign it an IP. Selecting an IP address 192.168.0.160 (outside my router’s DHCP range)
Install ESXi
Downloaded ESXi and verified the filehash after download. Launched a new VM with the following config:
- 8 CPU
- 16 GB ram
- 142 GB disk size
- 360 GB additional disk for VMs
From VM settings choosing my custom virtual network created earlier. Selected the ISO image to load the server. Now let’s power on the VM, follow the screen and set a root password.
Pressing f2 to enter configuration. Here let’s configure the management network by changing the IPv4 configuration and setting static IP address 192.168.0.160 with a /24 subnet mask. Disabled IPv6 settings.
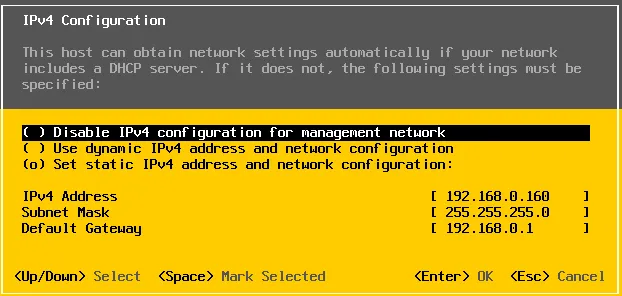
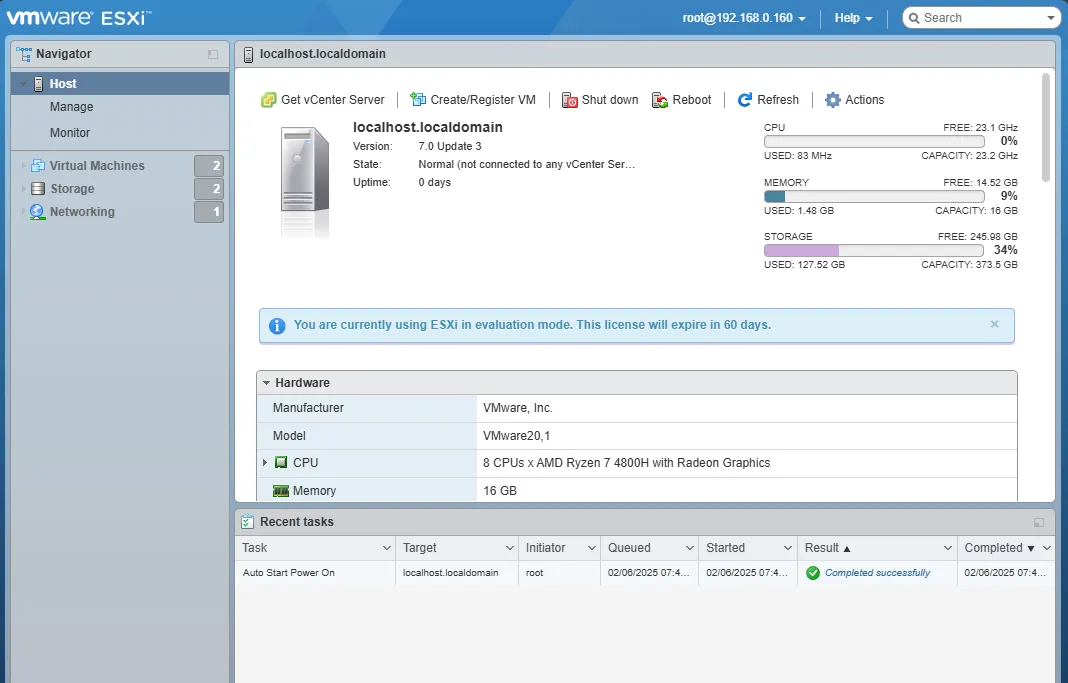
Saving the configuration and after the management network is restarted, I can see the following status.

ESXi is now being served on https://192.168.0.160/ (static address) on my local machine.
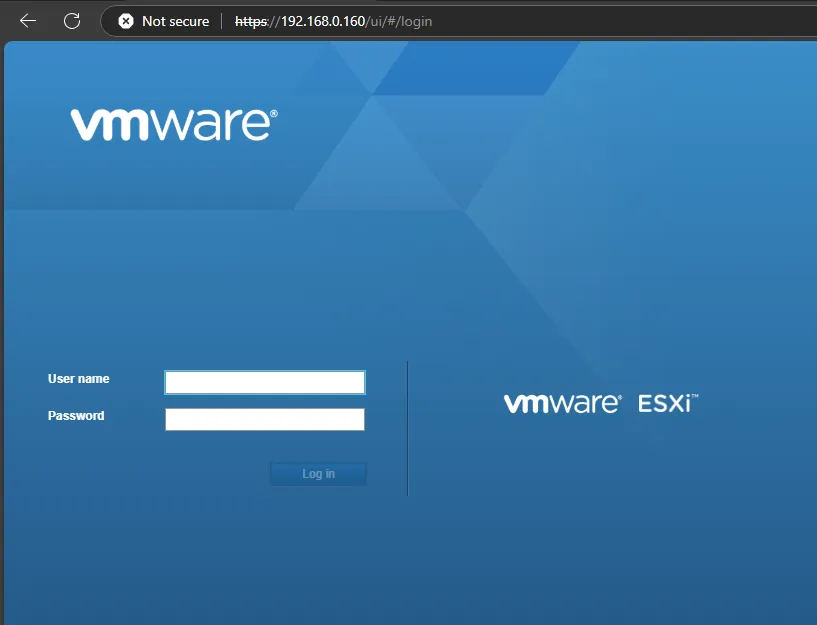
After logging in with the root account and password, I can now see the vSphere web client.