Active Directory
In this part, I’ll be installing Active Directory on the Windows Server and promote it to a Domain Controller. Then I’ll join my Windows PC to the domain.
Install AD DS
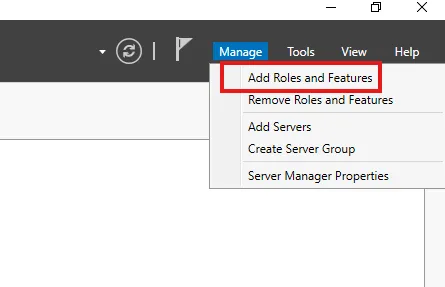
- From Server Manager on my Windows Server, under Manage let’s select Add Roles and Features
- Select installation type as Role-based or feature-based installation

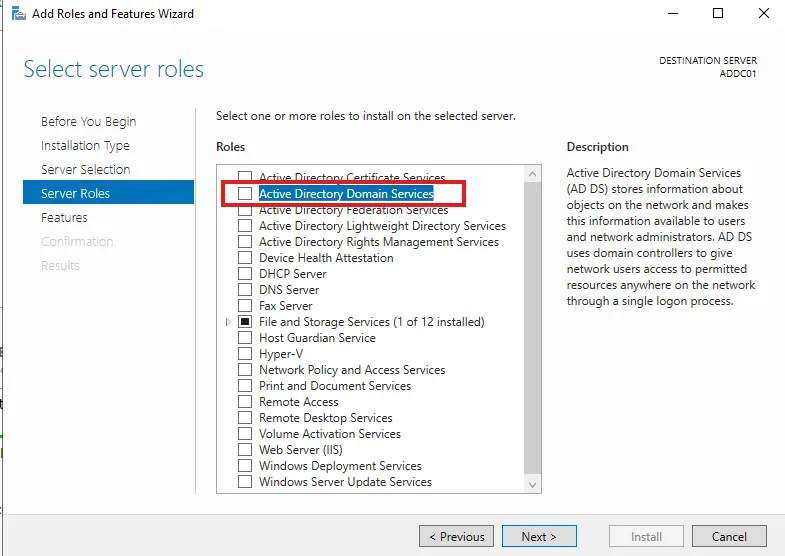
- Let’s select my server from the server pool. I’m selecting Active Directory Domain Services server role as this is the role I want to add to my server.
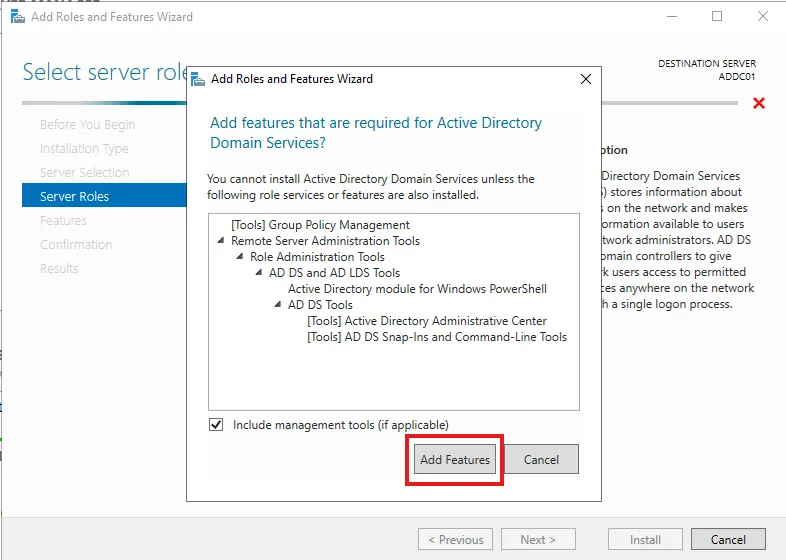
- The required roles services and features to be installed for the AD DS role is shown on the next prompt. Let’s click on Add Features.
- The list of features selected for installation are shown. Since all of the required features are already added, I’m clicking on Next
- I’m following on-screen and then hitting Install on the confirmation page
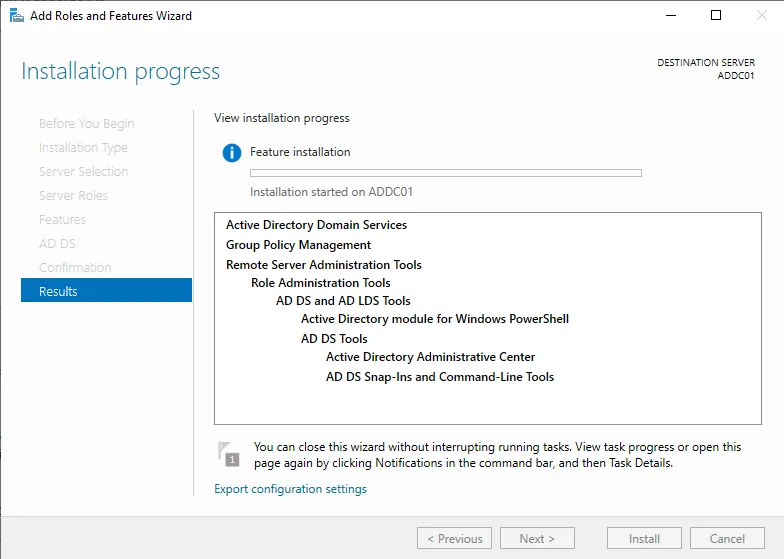
- The installation may take a few moments. Click on Close to close the installation window after it’s finished.
Promote to DC
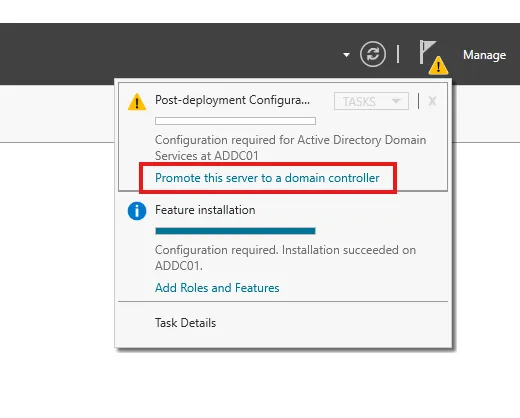
- From notifications, let’s choose the Promote this server to a domain controller option
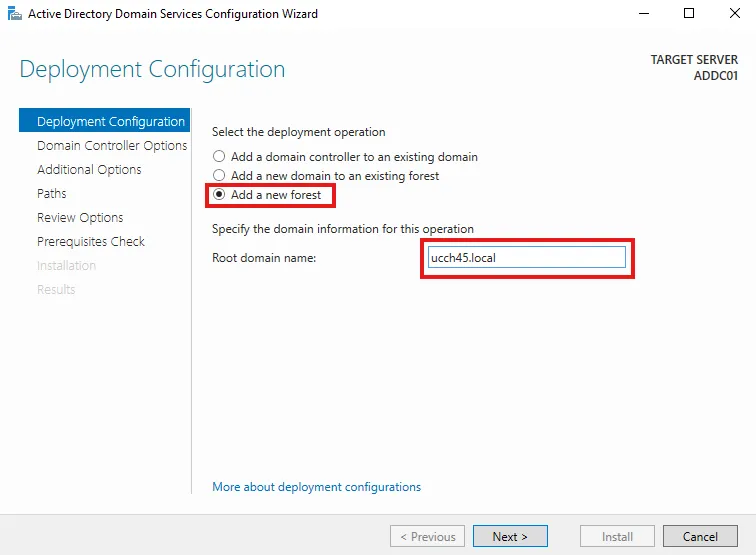
- Select Add a new forest. I am giving my domain name as
ucch45.local. The domain name must contain a root domain i.e..local
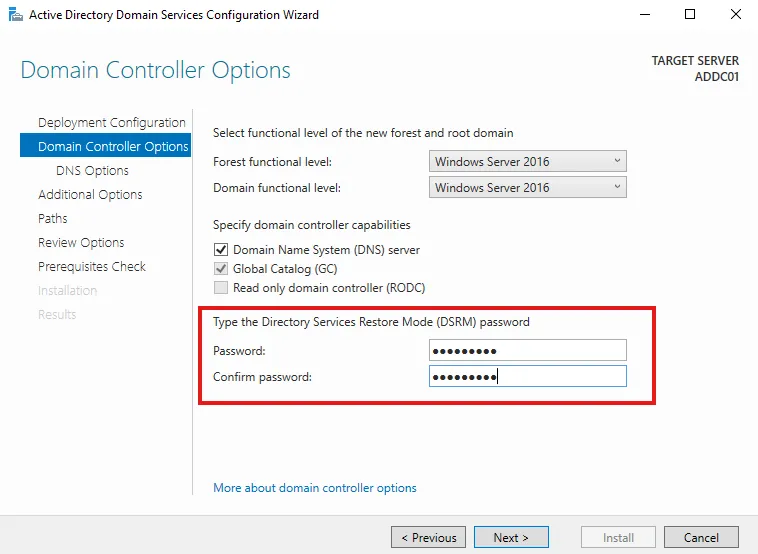
- Set a DSRM password
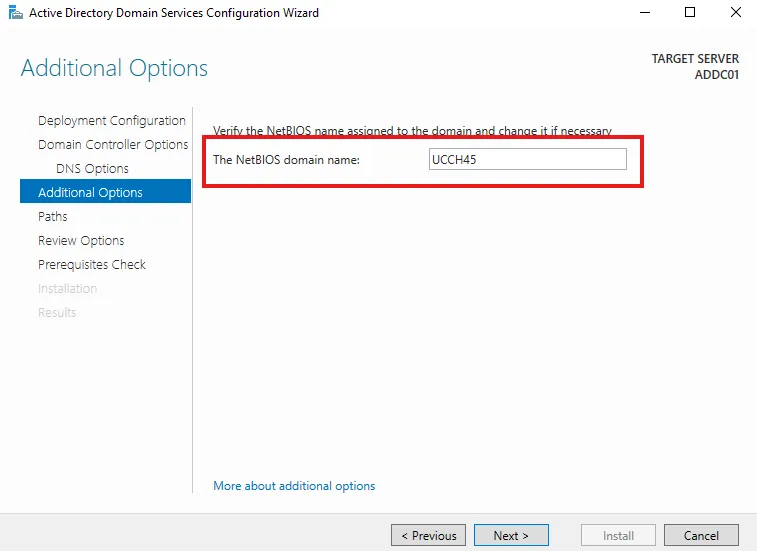
- Leaving the NetBIOS domain name as it is
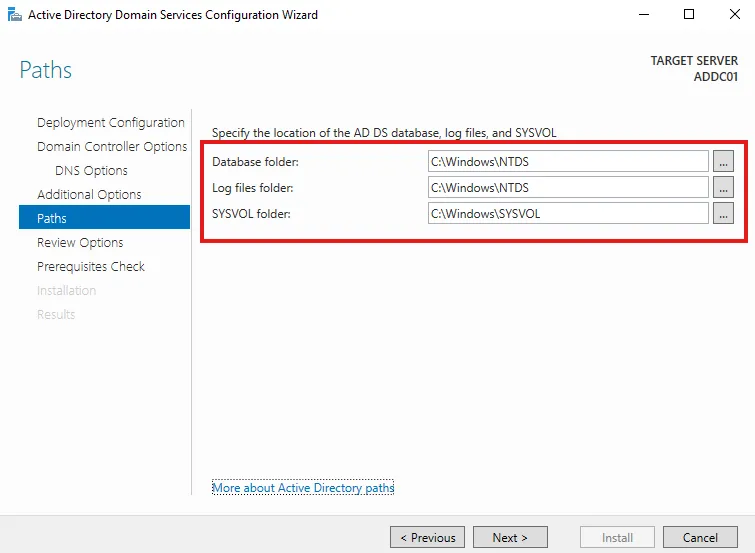
- The paths to store our database files named NTDS.dit are shown here. Attackers like to attack Domain Controllers as the database file contains everything related to Active Directory including password hashes. If any unauthorized activity is recognized involving this file, it can be assumed that the domain is compromised. I am leaving the default paths as they are.
- Review the options selected and wait for it to do a prerequisites check. Click on Install
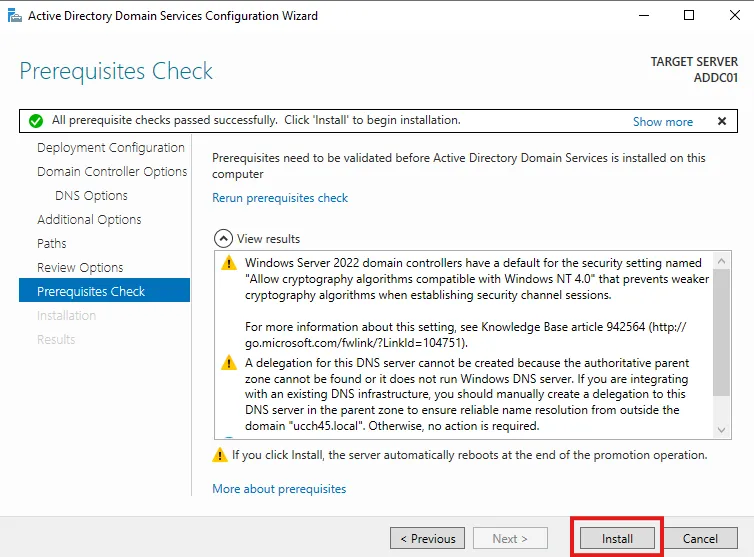
- After the DNS installation is finished, the server restarts automatically.
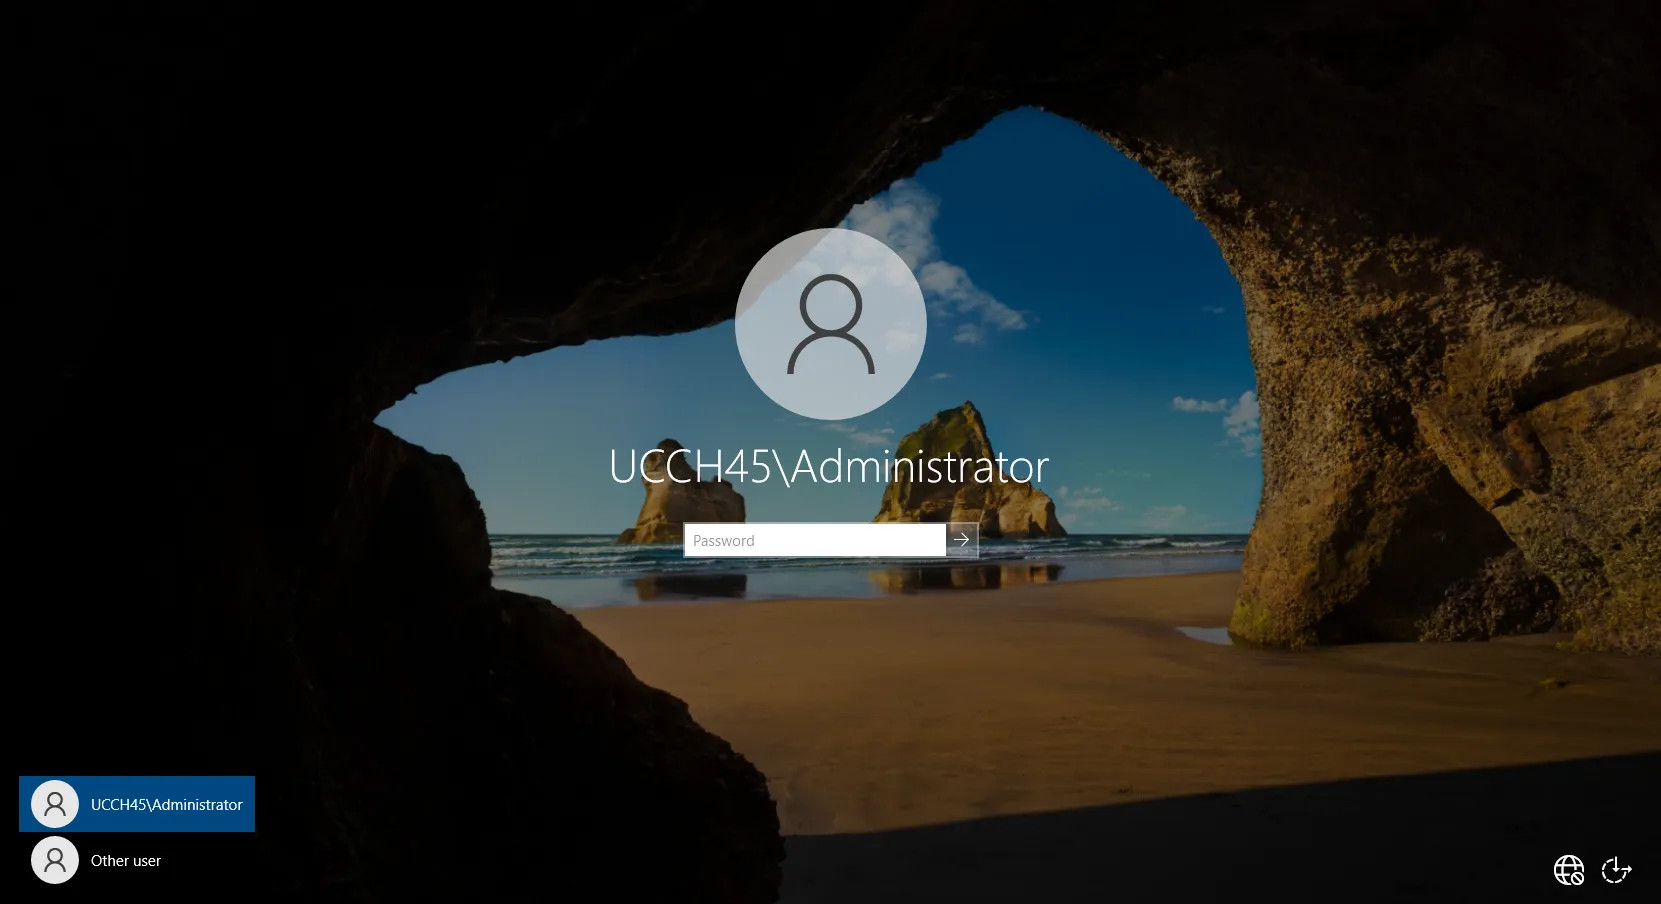
- After the restart, the log in screen shows a user in format DOMAIN followed by a \ (backslash). This indicates that the installation of AD DS and the promotion of the server to DC was successful.
Create Users
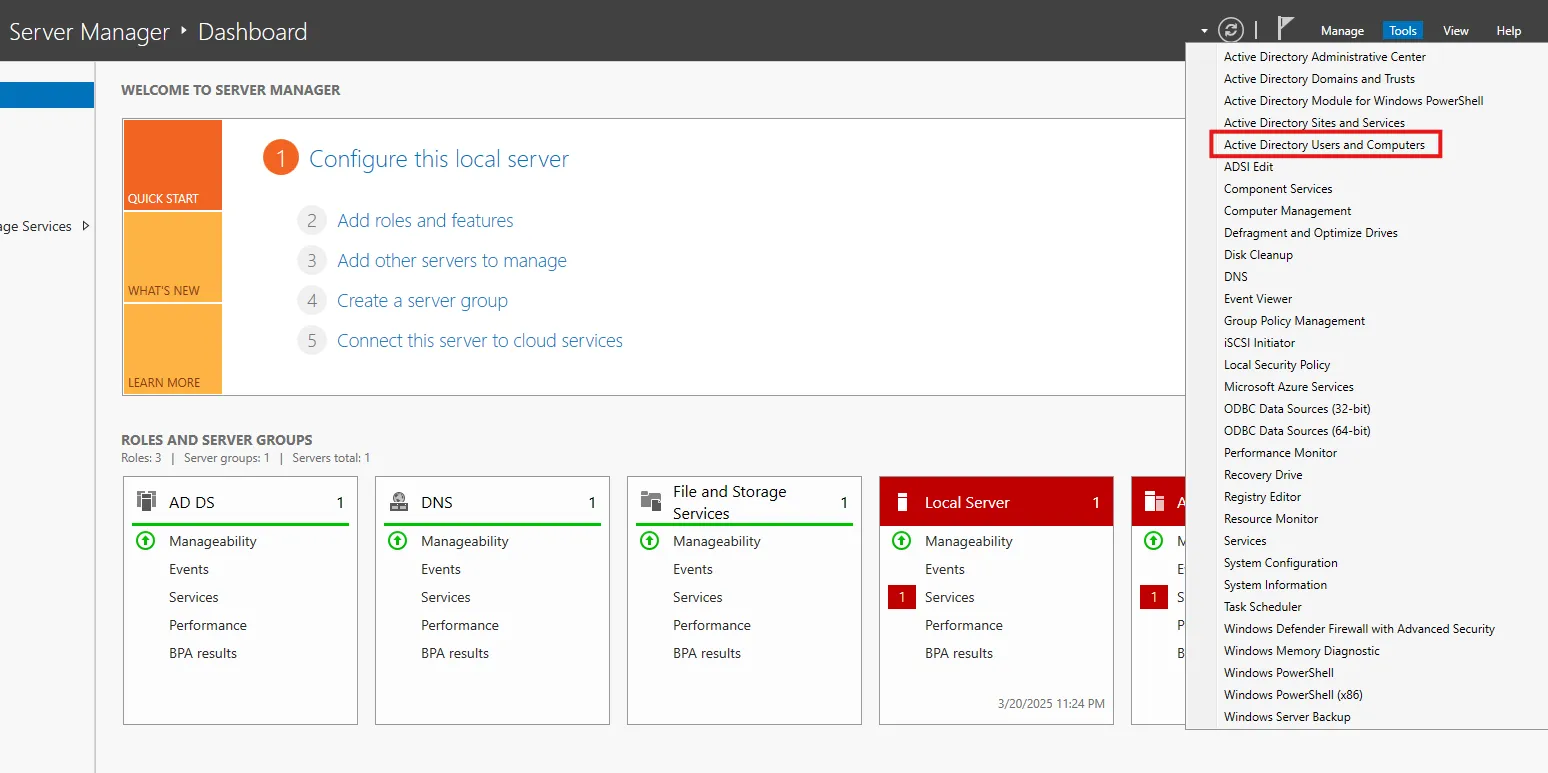
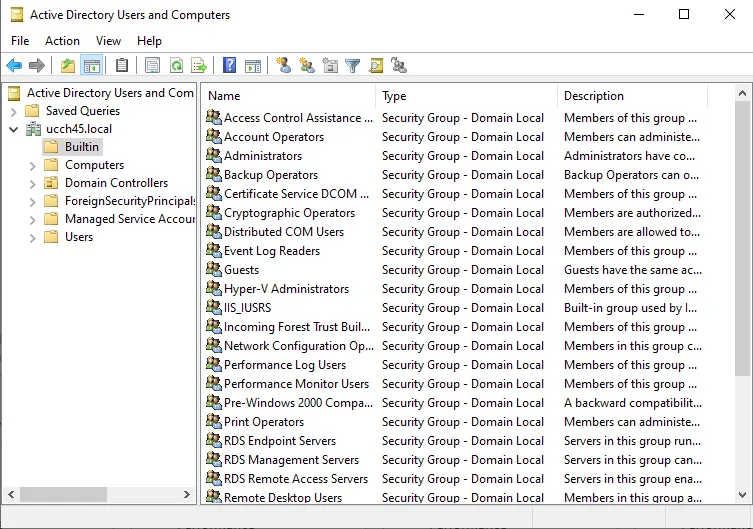
Let’s login to the Administrator account. From the Server Manager, under Tools, let’s select Active Directory Users and Computers. Using this we can create objects such as Users, Computers, Groups, and many more.
Builtin under my domain contains groups that are automatically created by Active Directory.
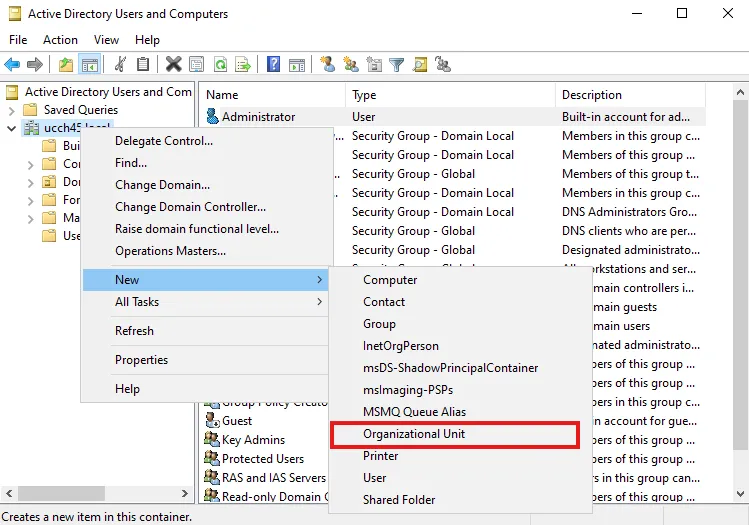
Similarly, Users contain automatically created user objects. In practice, real world users are generally part of Organizational Units(OUs). These can be a teams such as an IT/Finance/HR department within an organization. To create an OU, let’s select Organizational Unit under New within my domain.
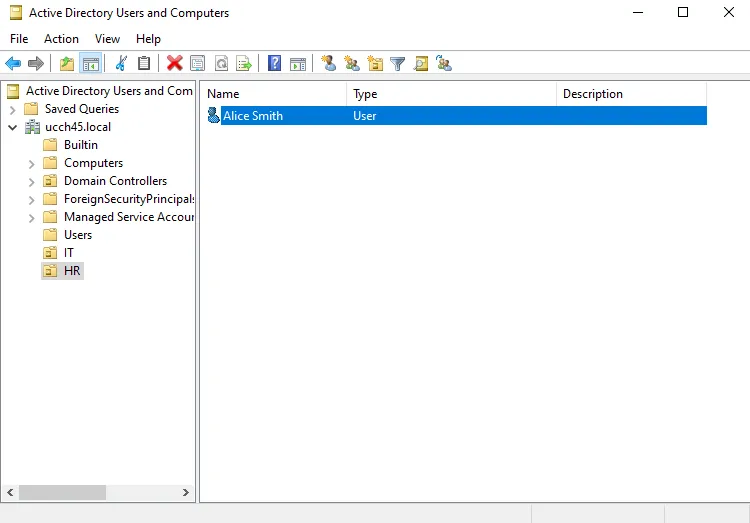
I’m simply naming it IT. I can see the newly created OU now under my domain. I can right-click and add a new user inside the OU now.

Let’s fill in the details for the new User object, set a password for the user and click Finish to create the new user. In the same way, I am creating another HR OU and creating another user Alice Smith under HR.
For this project, I’ll only have these two users. Now that my active directory environment is set up, let’s move on to the Windows machine AKA the target machine.
Join domain
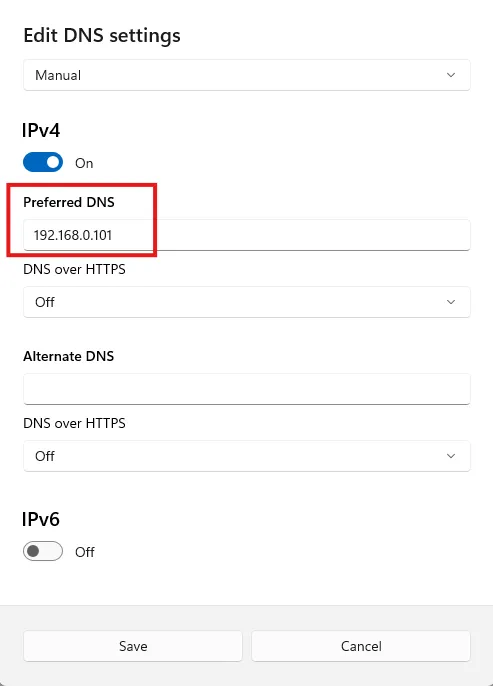
On the Windows 11 machine, let’s first set the preferred DNS to my DC
Then to join to domain, go to
Settings > System > About > Advanced System Settings
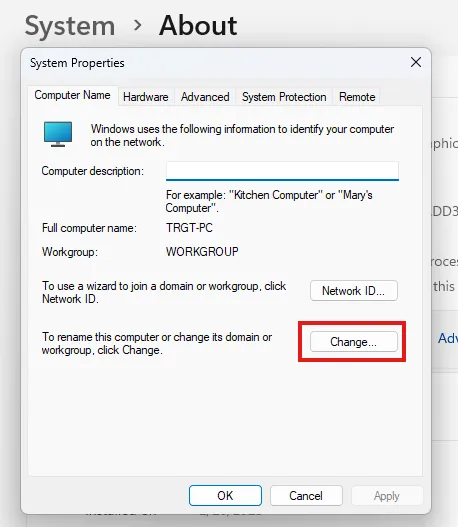
On the System Properties windows, click on Change under the Computer Name tab. I am selecting Domain under Member of and putting in my domain that I had configured previously.
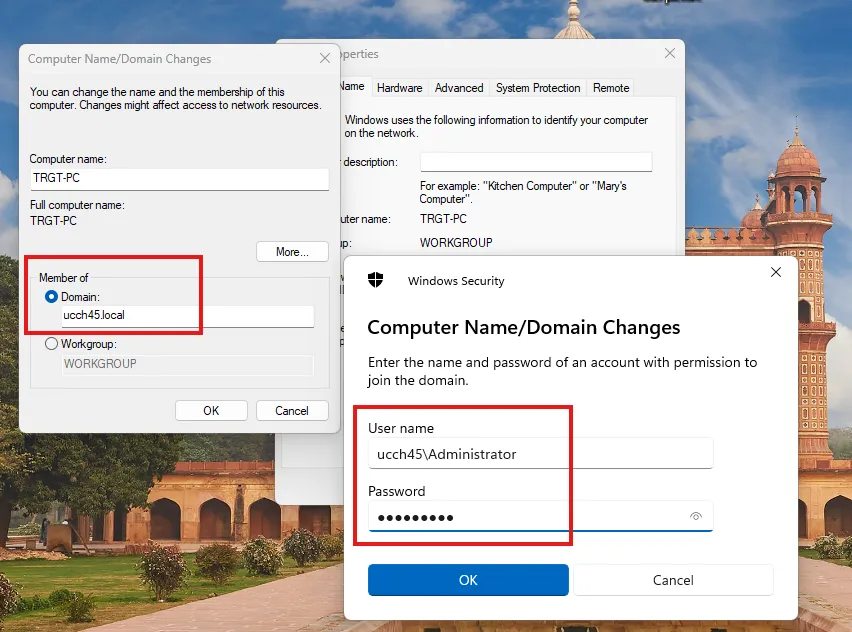
On the Windows Security prompt, I am using the Administrator credentials to authenticate the domain joining. After validation, a welcome message is shown indicating that the domain has been joined. However, in a real world environment, one shall create users and put them into a custom group that are authorized to allow computers to join the domain.
A restart is required after this.
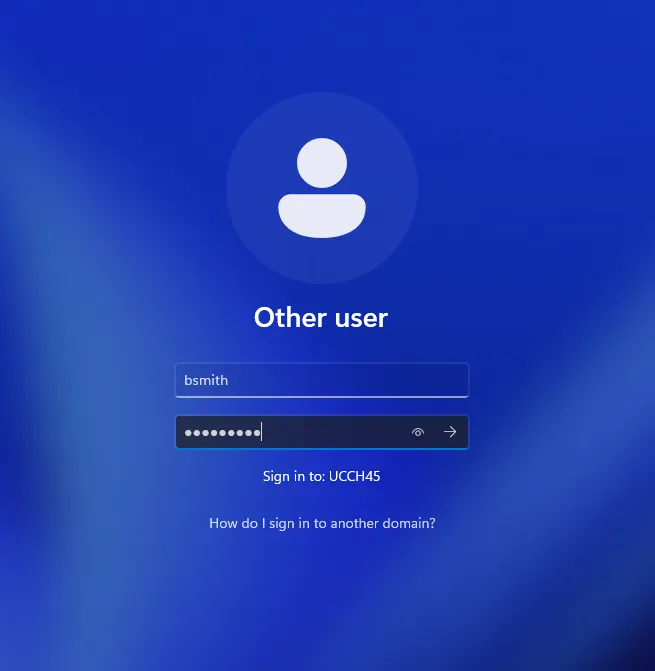
Log in as AD user
After the restart, I can now log in as Alice Smith from HR or Bob Smith from IT using their user logon names and passwords as configured previously.
If I go into settings logged in as Bob Smith, I can see from here that it is connected to the AD domain.

Enable Remote Desktop
Let’s go to
Settings > System > Advanced System Settings
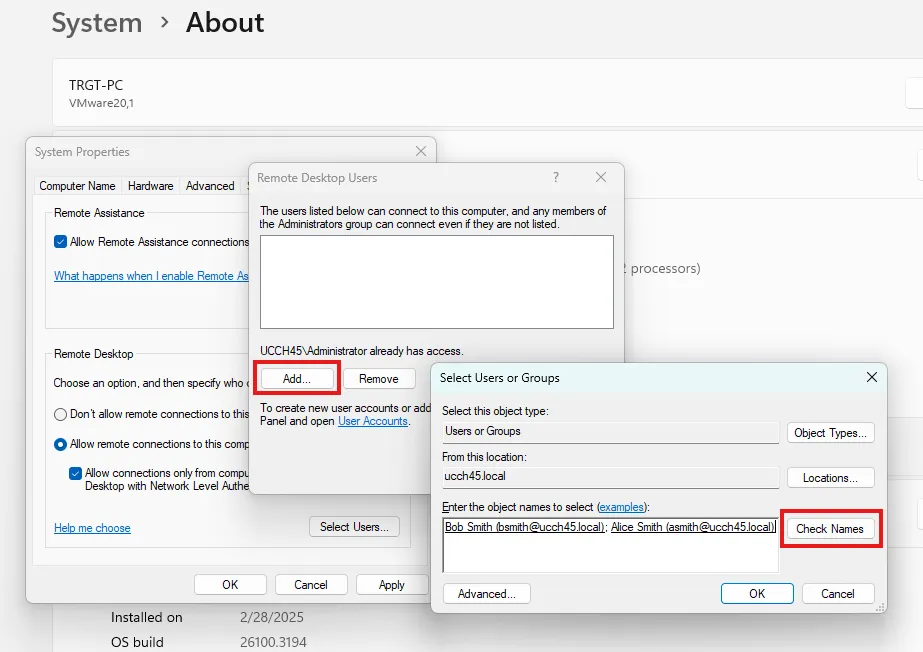
Log in using Administrator account to access the settings. On the System Properties window under the Remote tab, selecting the radio button Allot remote connections to this computer and then clicking on Select Users.
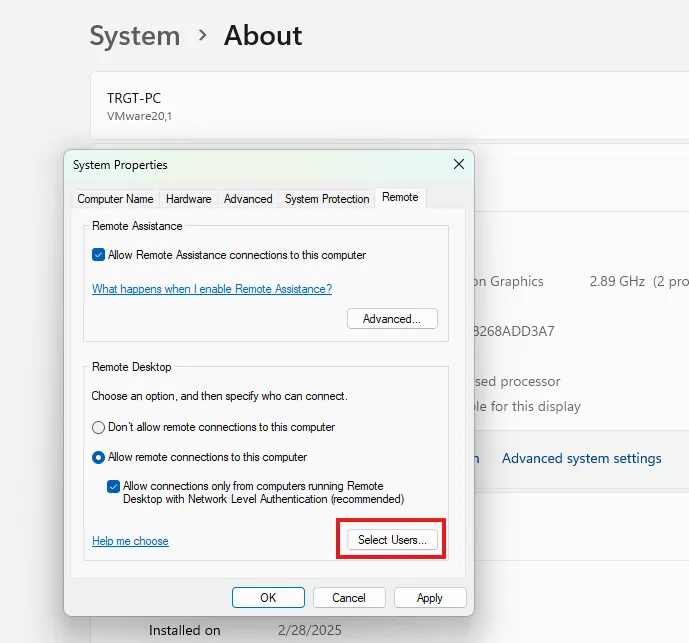
Click on Add to add users who will be able to remote into the machine. I am entering the name for Bob and Alice and clicking on Check Names for it automatically include the user object.
The configuration so far is:
- AD server
ucch45.local - Contains two users
- Windows 11 machine joined to the domain
- Remote connection also configured
Before moving onto the attacking part, I am taking a snapshot of all the machines involved in this project at their current state so that I can revert back in case something breaks in future.